Segmenting Time-lapse movies#
The plugin is designed to work not just with single images but also with stacks of images, in particular time-lapses.
Here’s an example clip showing how we can segment an entire fluorescence microscopy time-lapse of a cell with a few clicks (see below for more details):
Step by step#
Here we explain the process step by step. First, we need to import an image. This can be done in the ways usual for napari (menu, drag and drop etc.).
What is important in order to replicate this use-case is that the image is three dimensional, the third dimension being time or z. In napari, it will be accessible via the slider.
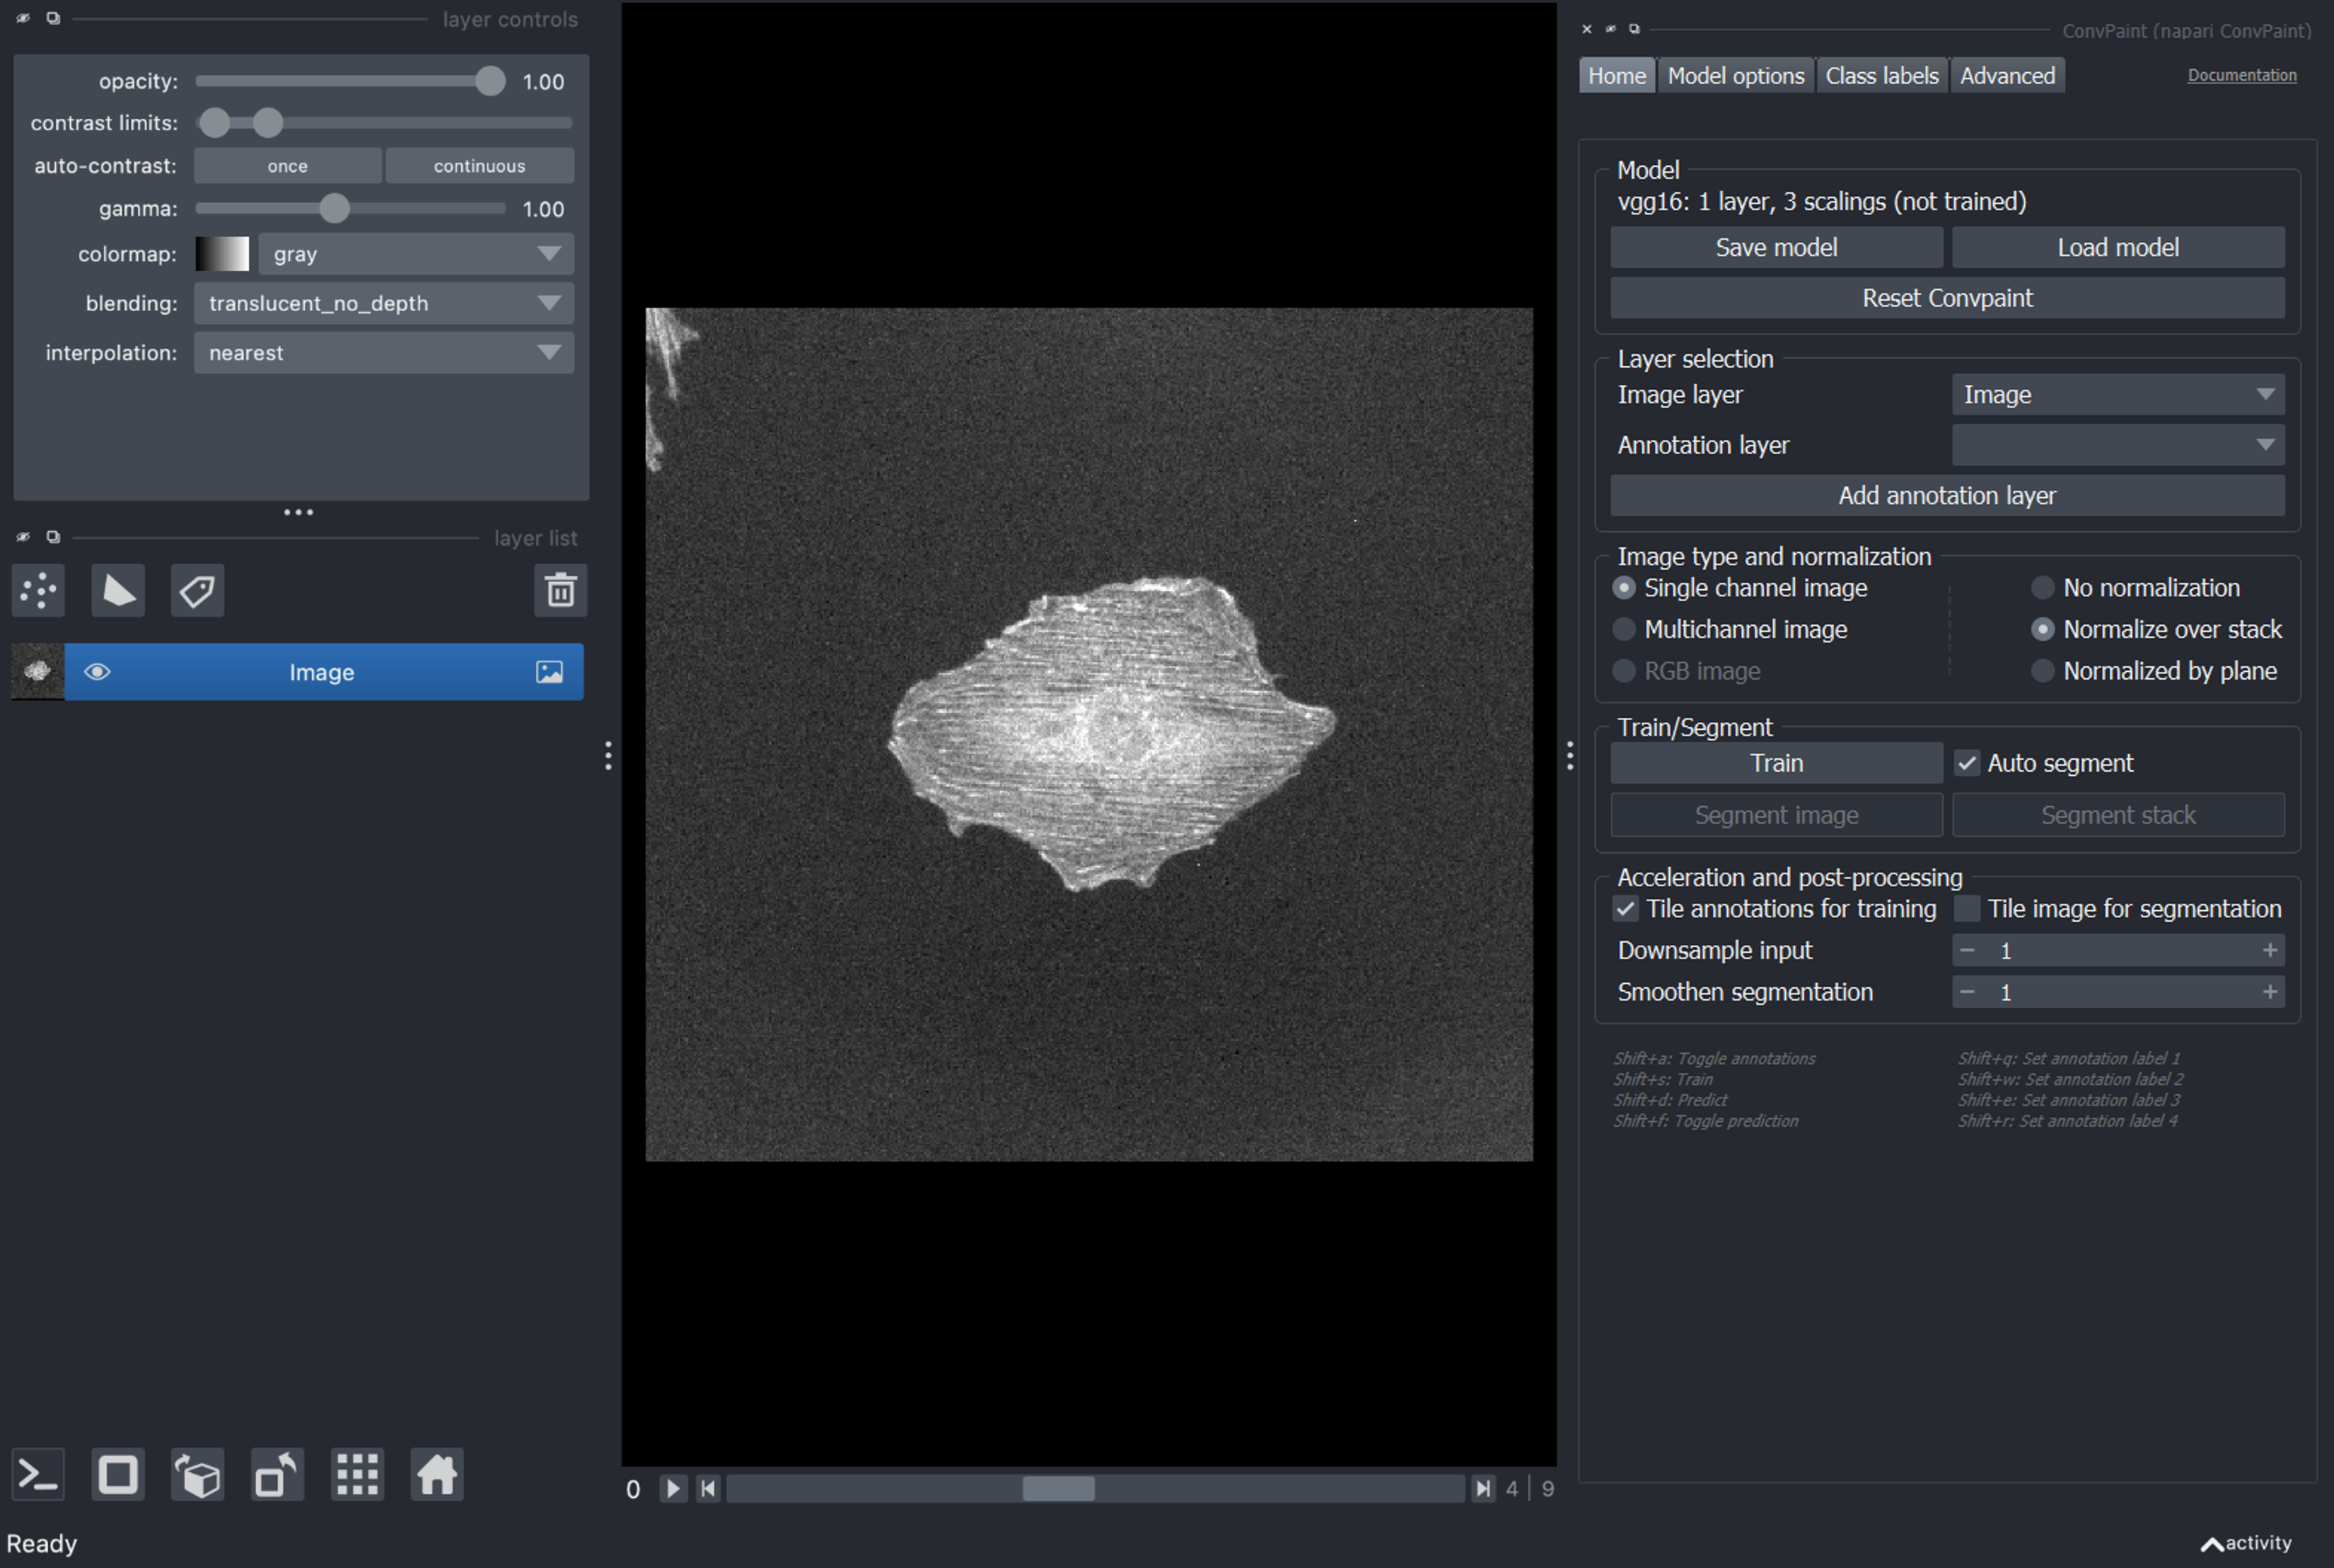
When adding annotations layers through the button in the plugin, they will automatically have the same dimensions as the currently opened dataset (exception: multichannel images, see below).
Now we can annotate one or more frames in the stack:
self._on_add_annot_layer()
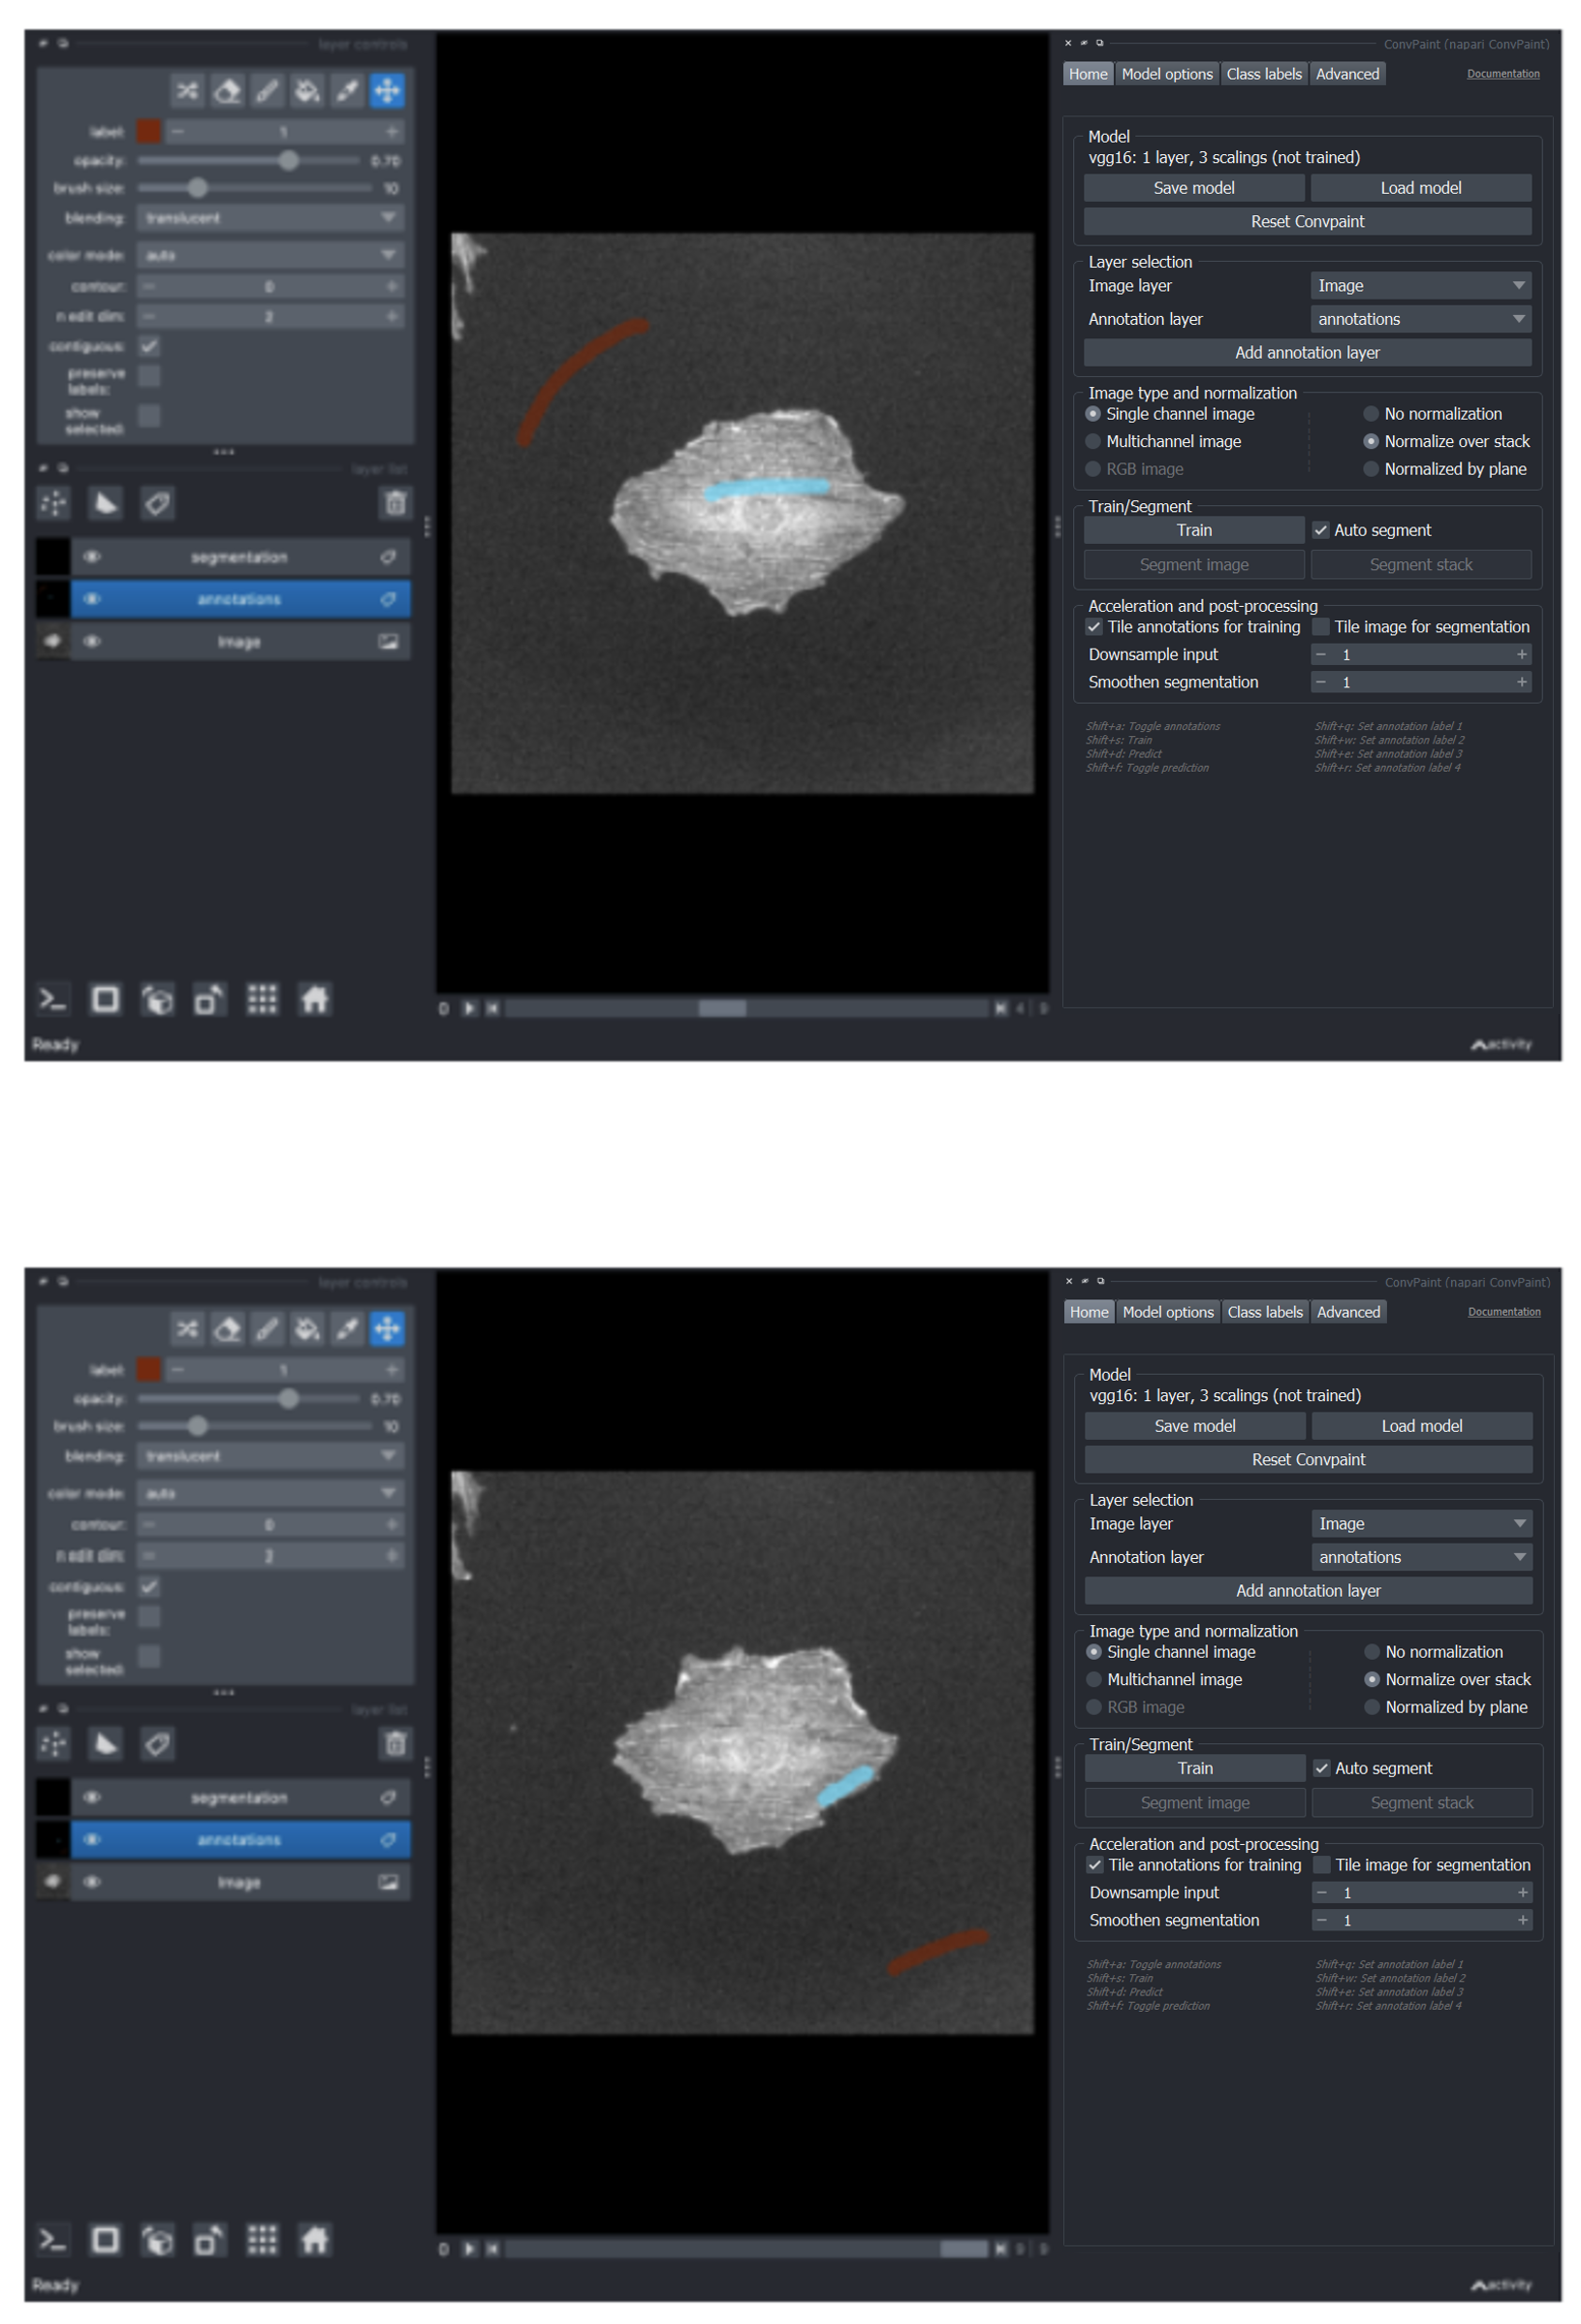
If we now click on Train, all annotations from all annotated frames will be taken into account.
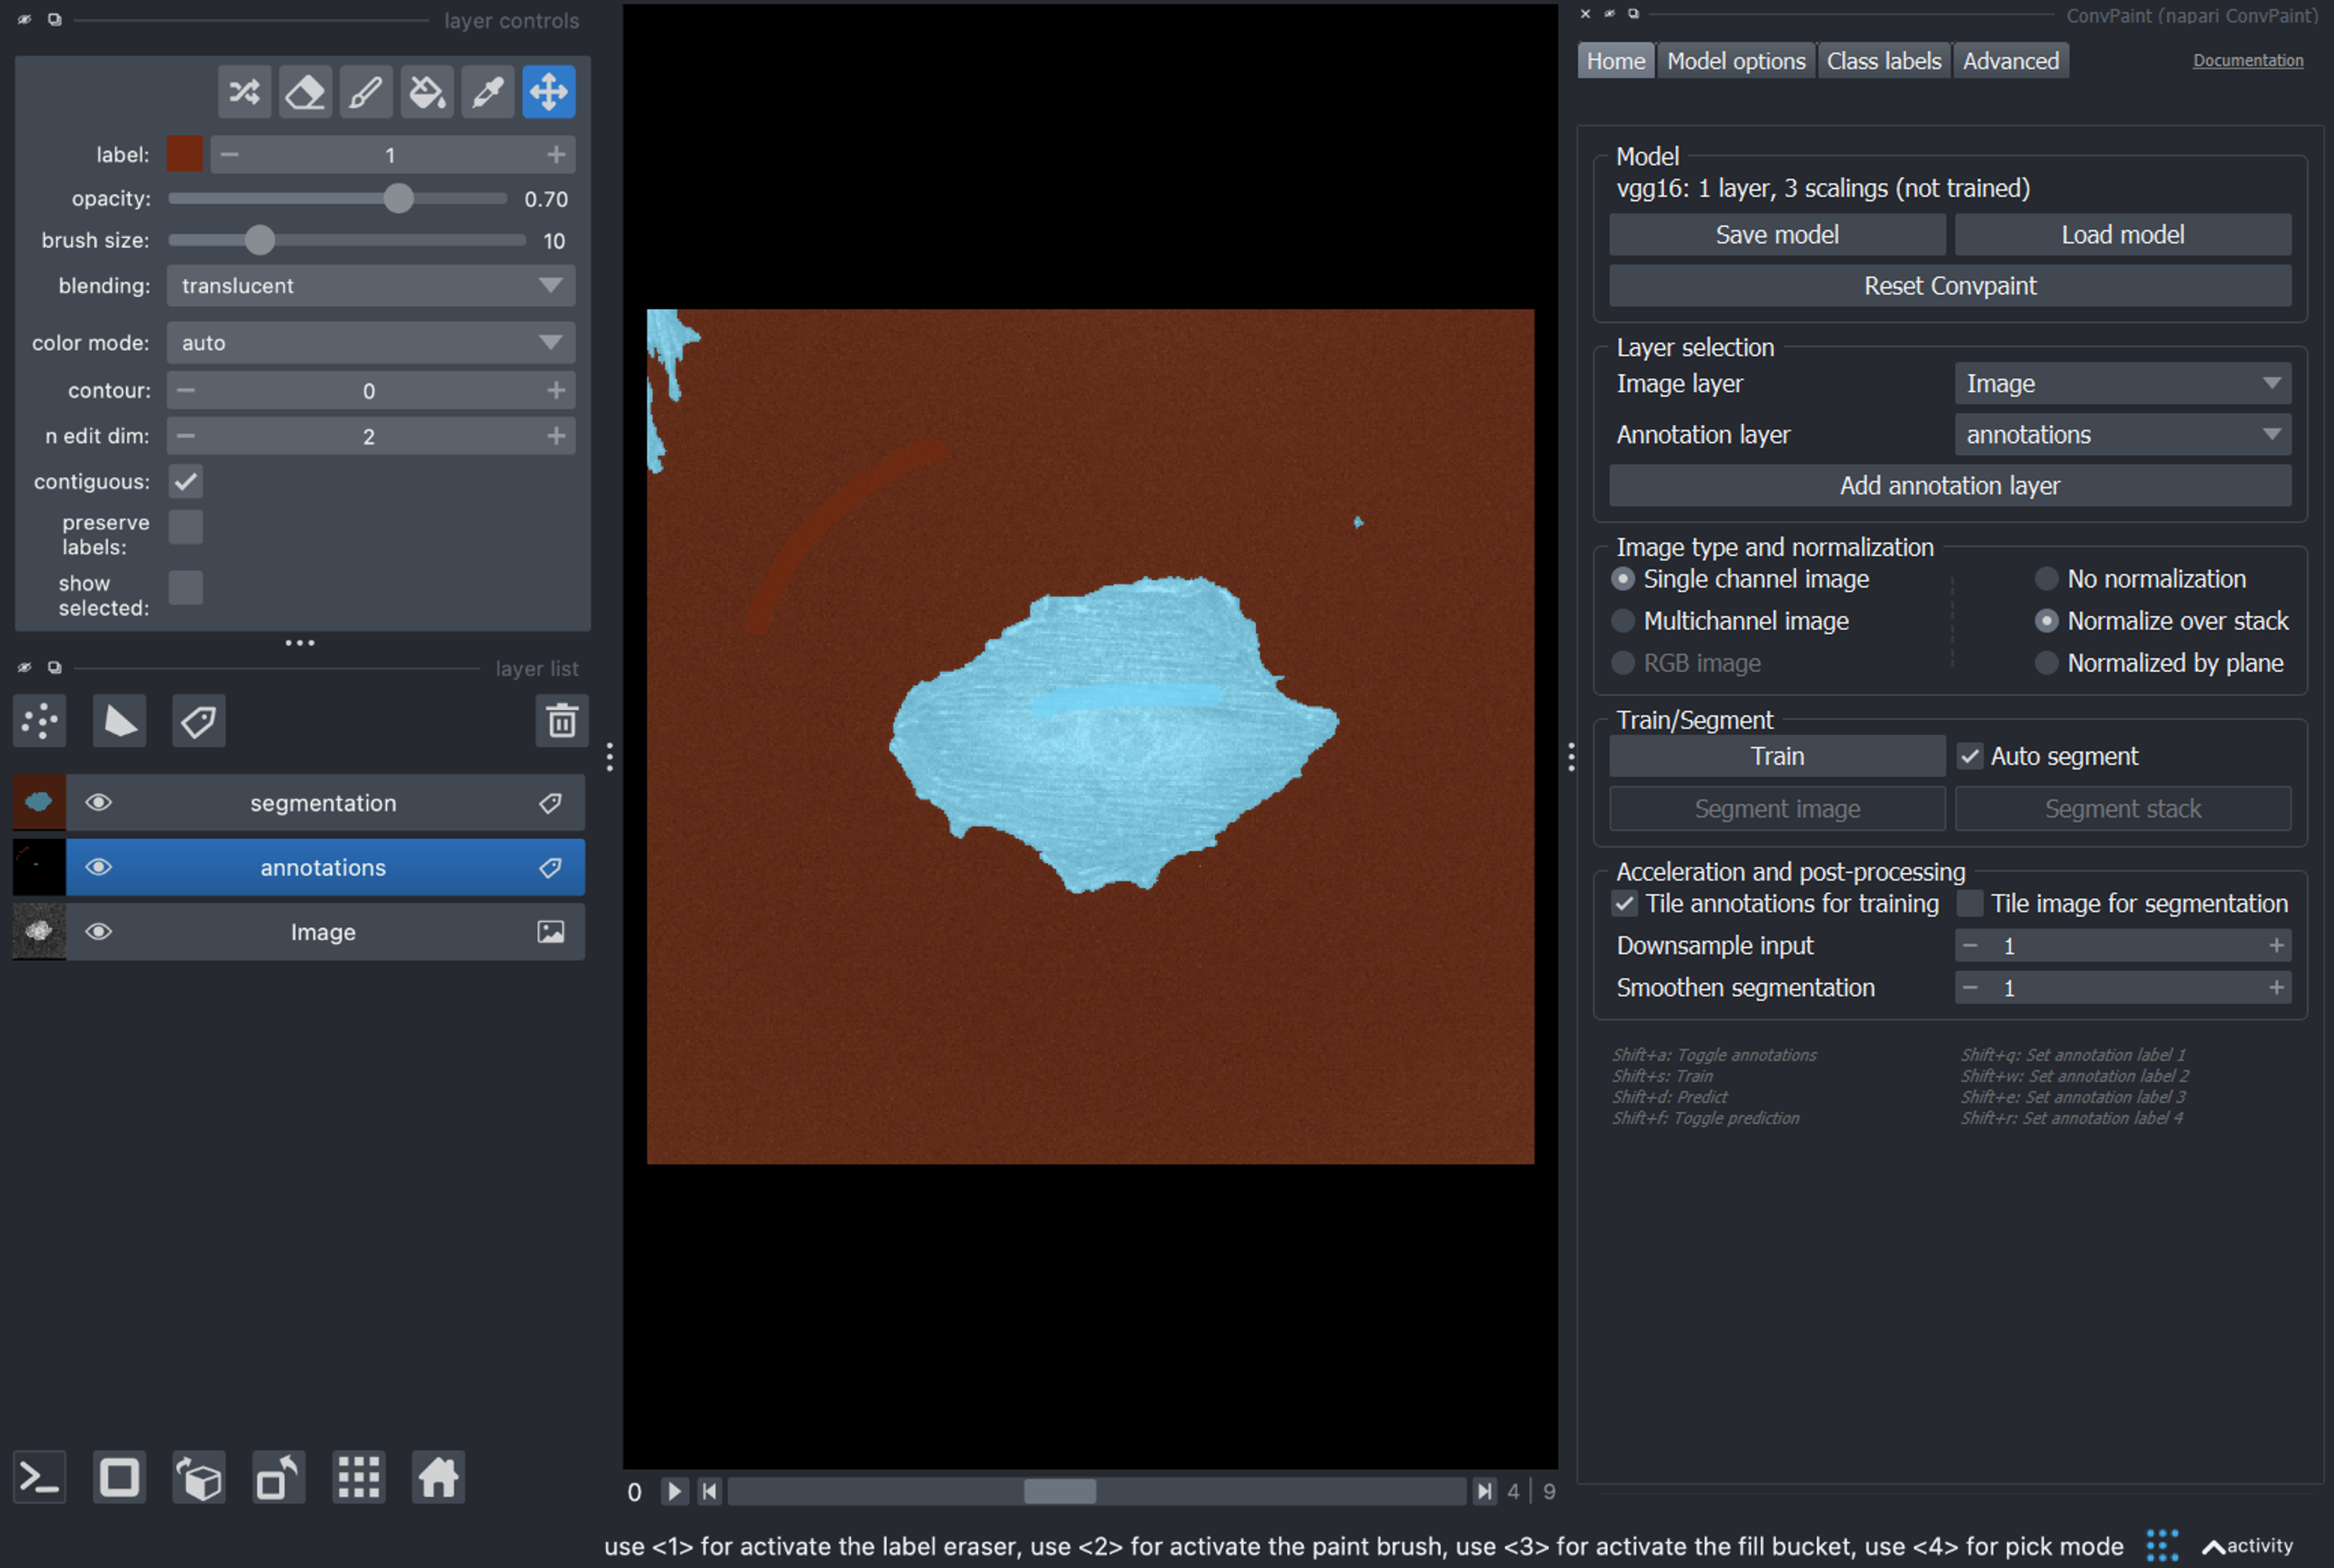
Once training is done, we can verify the quality of the segmentation on a single frame (the one currently shown in the viewer) by pressing Segment image.
If we are satisfied we can run Segment stack to get the full segmentation:

Using multichannel images#
Note that in certain cases, the additional dimension doesn’t represent time or Z but channels. In such a case, annotations should be done only in a single plane and corresponding features be extracted and combined from all channels. This can be achieved by selecting the option Multichannel image in the Image type and normalization box.